With quarantine keeping me inside, I decided that I wanted to make my “distance learning” (at home classes) homework more enjoyable by making my own planner. This is how I created the layout for my first week, and I plan on continuing throughout the rest of the school year, but I’m going to change the theme of each week. This week I wanted a retro theme, so please let us know if you want to see any specific themes in the future!
Supplies:
- Journal- For this journal, I used one with a grid background that I got from Michaels, but plain or dot backgrounds to help with spacing also work great for this project.
- Brush Pens- I used a variety of brush pens including some by Art-n-Fly, Tombow ABT, and Artist’s Loft.

First, I wanted a cover page, so I wrote down the title of my planner in the best retro font I could do freehand (I know it doesn’t look retro but hang in there). After I wrote “Homework” in cursive, I decided to write “Distance Learning” in a more plain, uppercase font underneath, since that was what this planner was going to be focused around.
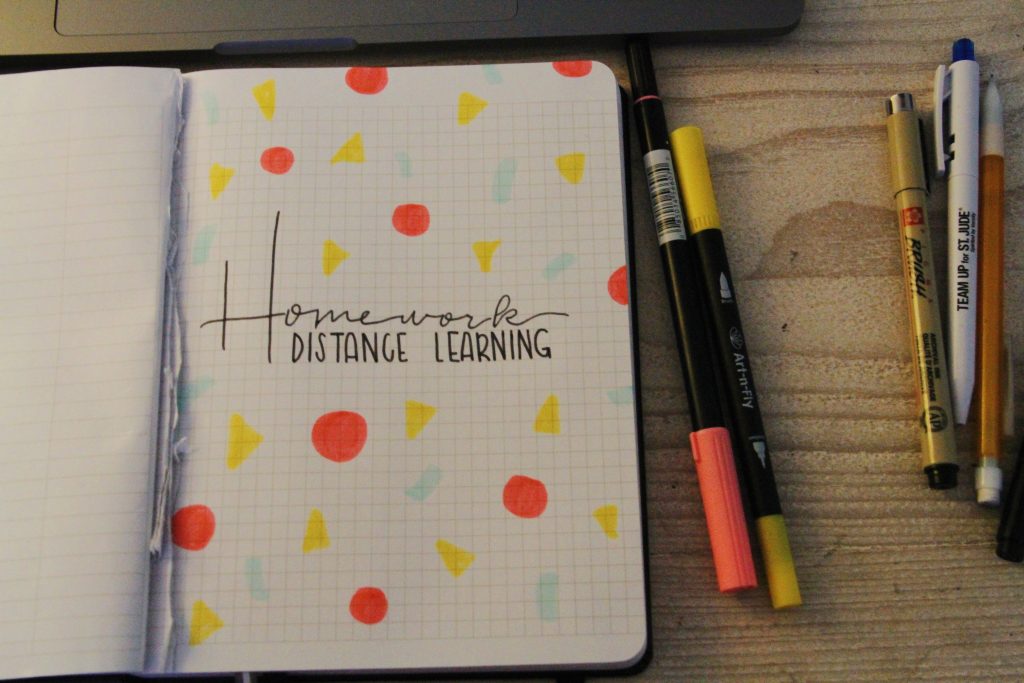
After I liked the way the title was written, I then moved on to the retro design that would be surrounding the lettering. I started with using the brush pens and assigned a shape to each color (pink: circle, yellow: triangle, and blue: dash). I did not have any set amount, I just did as many as I felt were needed.
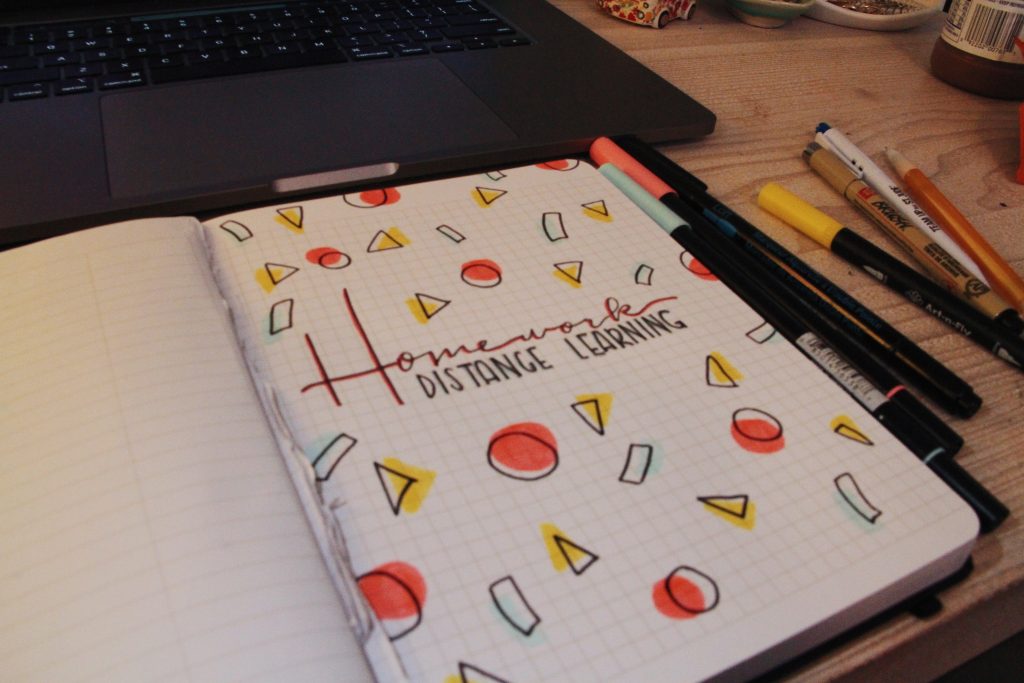
To add to the page, I used the thin point side of my black brush pen to outline the shapes, but instead of doing the outline exactly, I like to move it barely to the side of the shape, giving it more of a vintage feel.
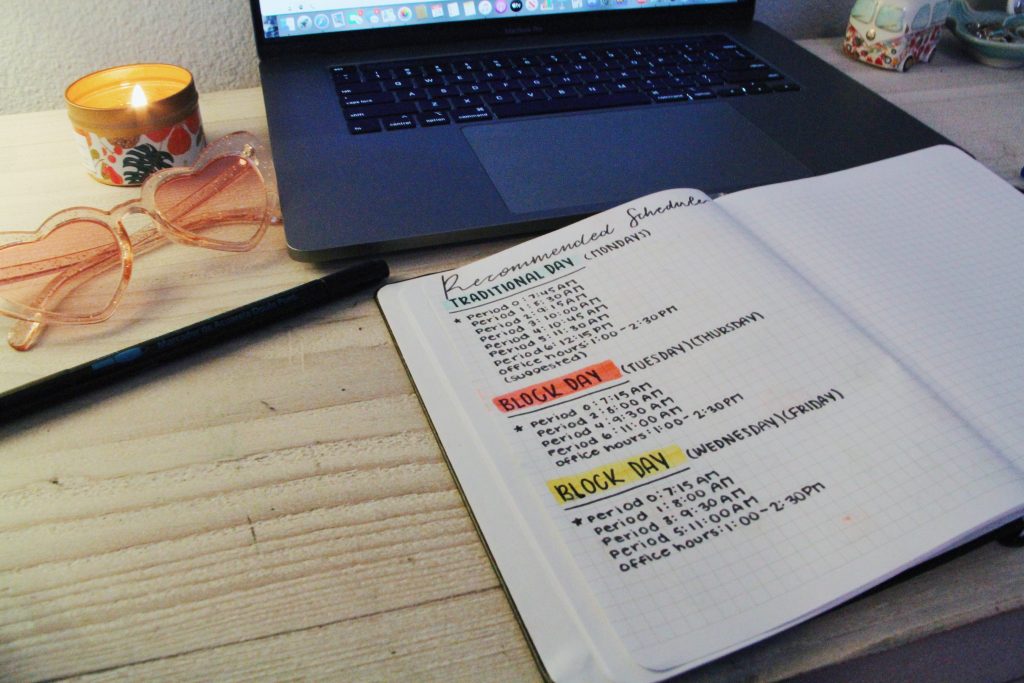
On the next page, I decided to put a schedule that my school had given me, so I wrote out the schedule so I would always have it in a place where I could quickly access it.
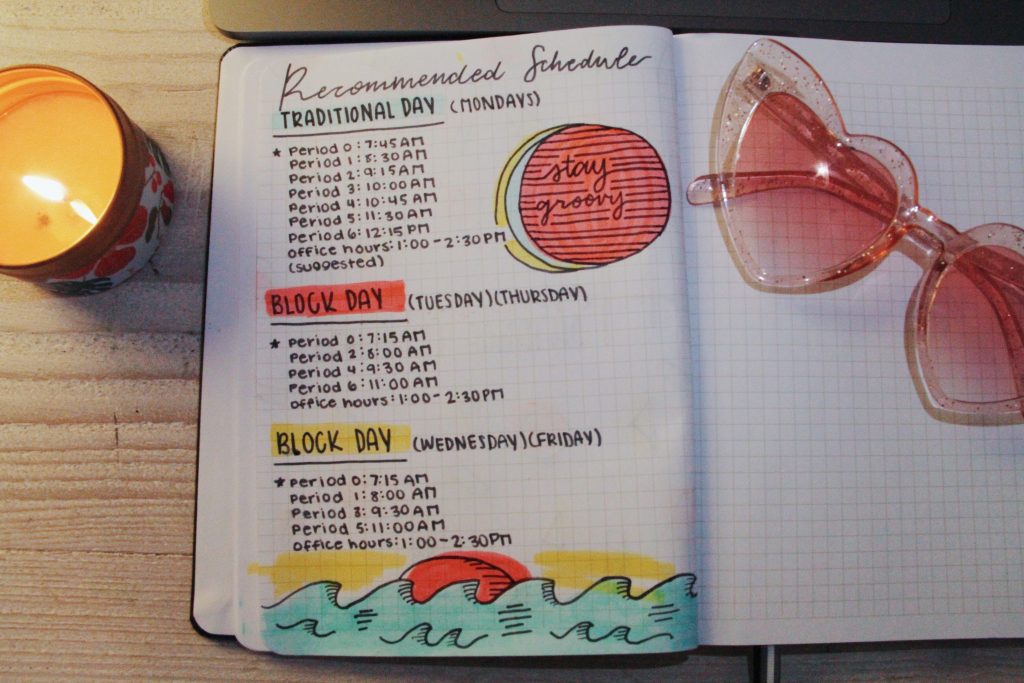
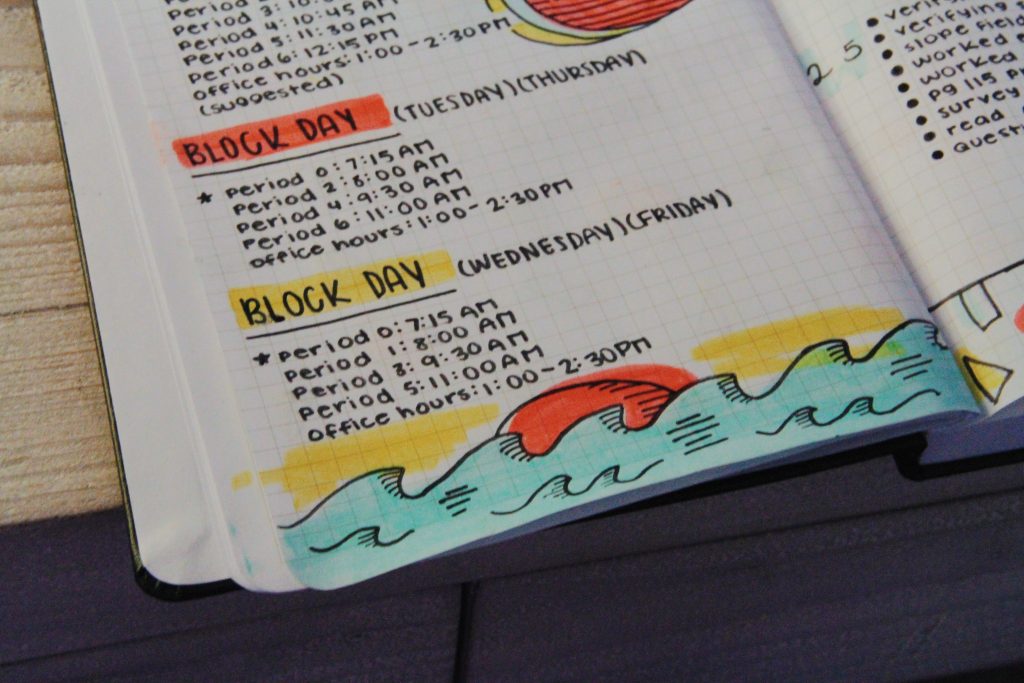
I quickly realized that the page was quite plain, so I added a circle on the side with the phrase, “stay groovy”, written inside. I also quickly sketched out a beach scene at the bottom of the page with the main three colors (pink, yellow, and blue) to add more to the still plain page.
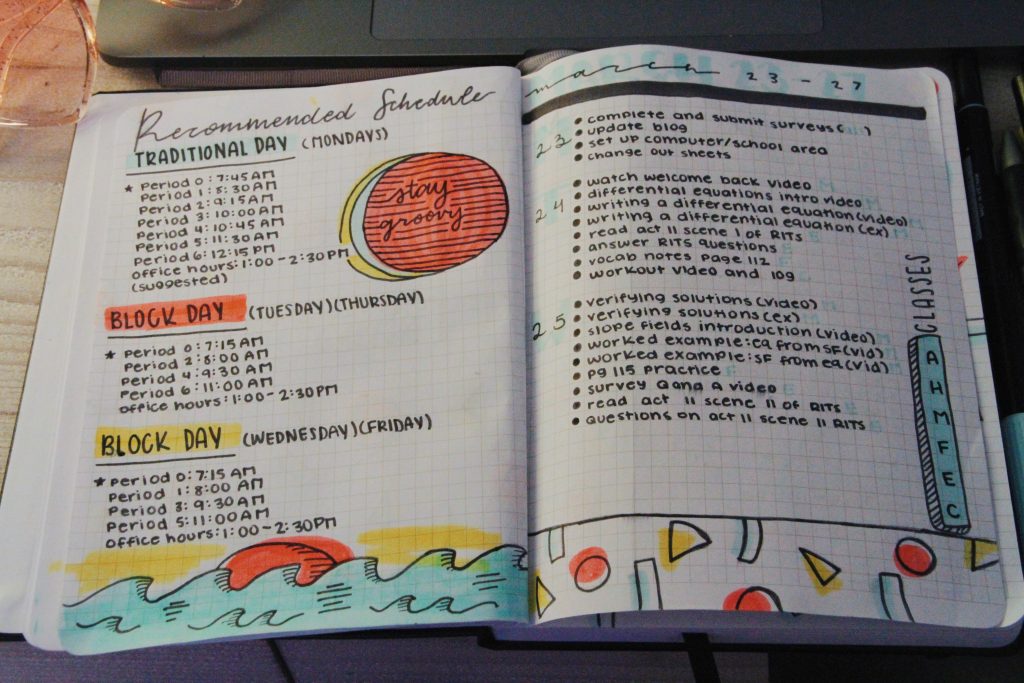
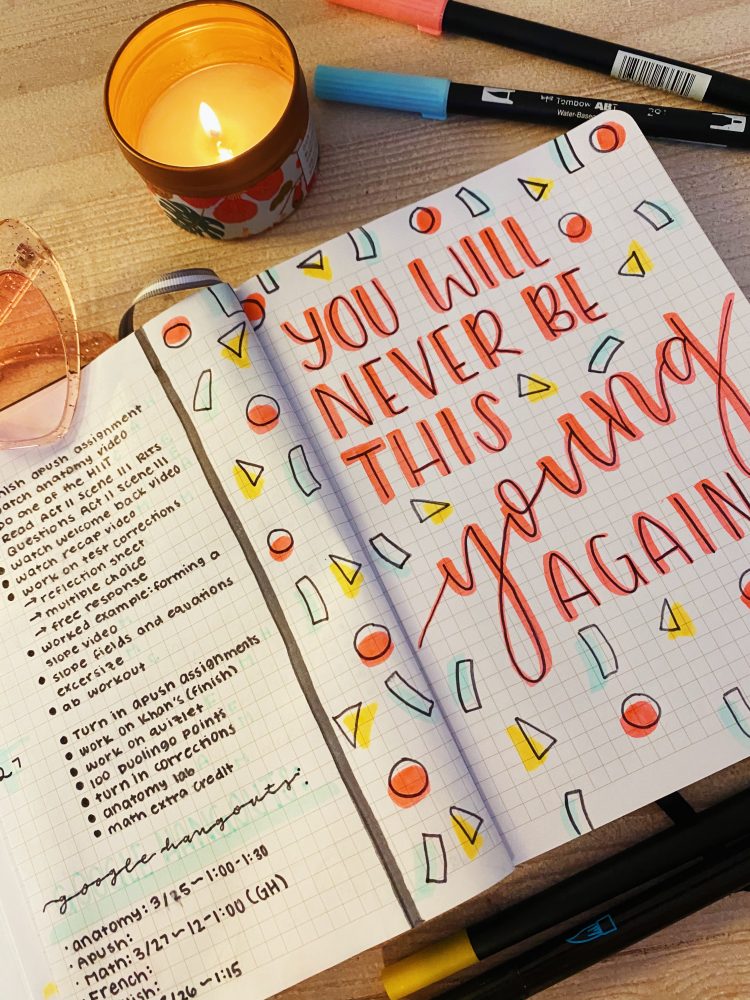
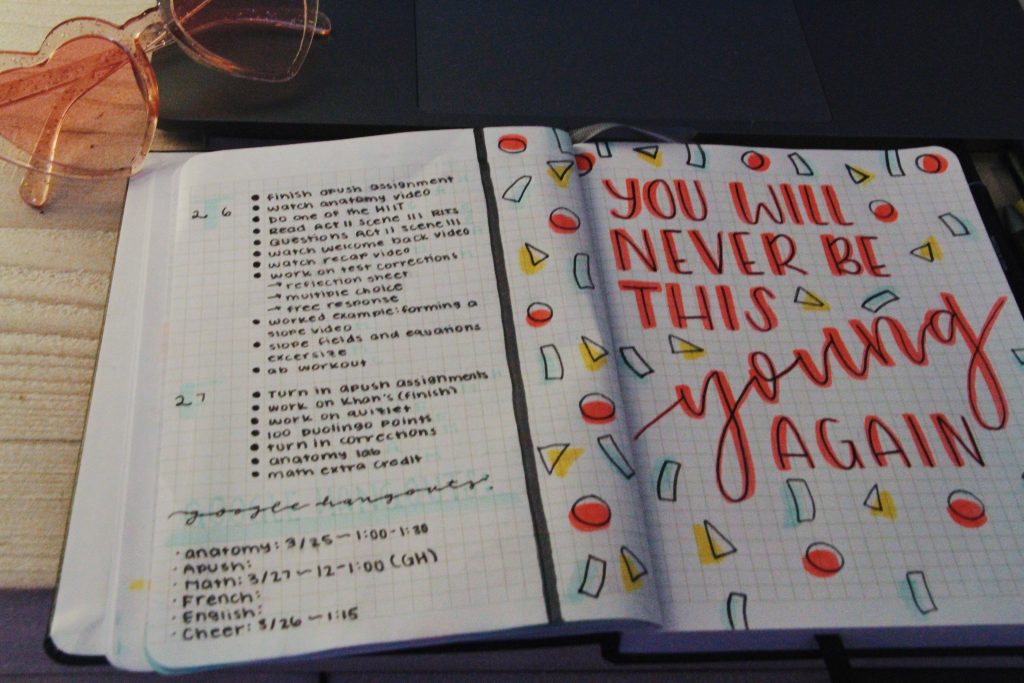
I then set to work on creating the first page of the weekly. On the side, I wrote the first letter of each day with the date on top so I could keep track of when each assignment was due. I used very straight forward bullet points to arrange my assignments and put the first letter of what class it was for next to them so I wouldn’t get confused (it’s in light blue, so it might not read as well in the photos). I also decided to add the same retro design to the bottom of that page that I had on the first page because I had extra space.
On the next page, I continued the same format of the previous page to stay consistent, and I also added the same retro design to the side of the page.

For the last page of the week I wanted to do a quote that I found from pinterest that somewhat continued with the theme of the weekly, and I picked the quote, “you will never be this young again”. First going through with the pink brush pen, and also going through with the thin side of the black pen to add a fun effect to the letters.
If you tried this let us know how it worked for you! Follow us on instagram and pinterest to see what other projects we tackle week to week!
Thank you!!1
thanks, very interesting 🙂