
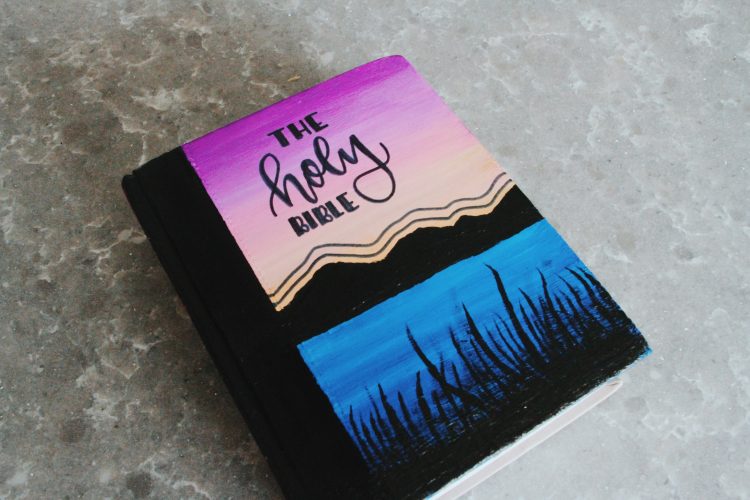
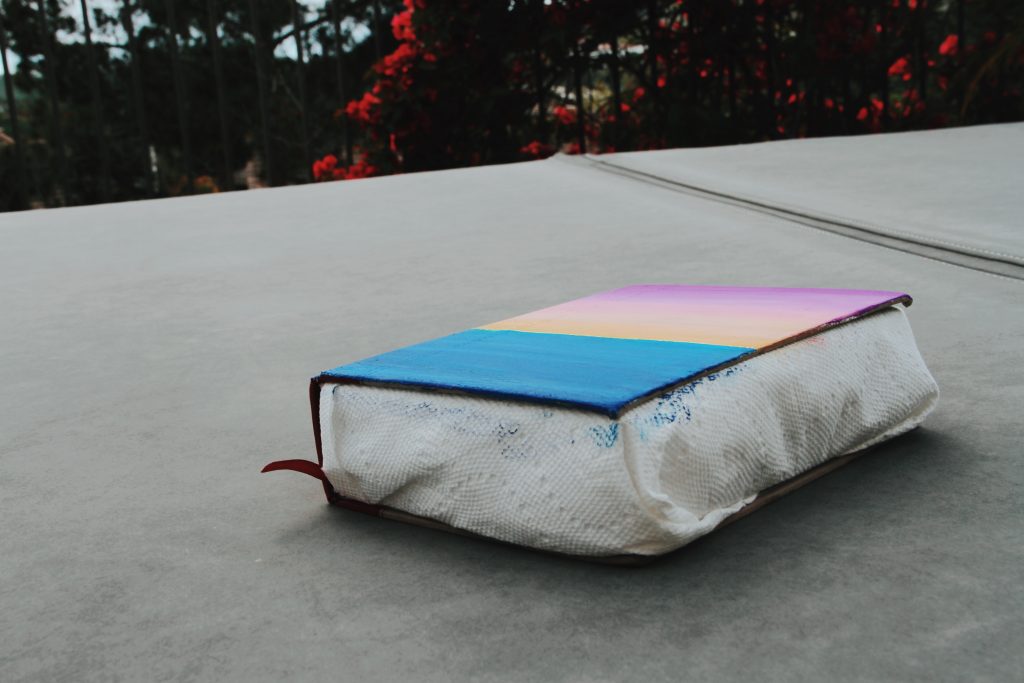
Now, I have been wanting to paint the cover of my Bible for quite some time, and quarantine has given me no excuses for not doing it with all the time I now have on my hands. I fully recognize that I of all people have no experience in painting, so I know that some of the steps that I chose may not be the standard for artists, but they worked for me. For this cover, I was inspired by Hosanna Revival, and I will link their website so that you can see the amazing Bibles that they create and sell if you don’t feel like painting it yourself. Keep reading if you would like to find out how I created this sunset on the lake design that is so easy, anyone can do!
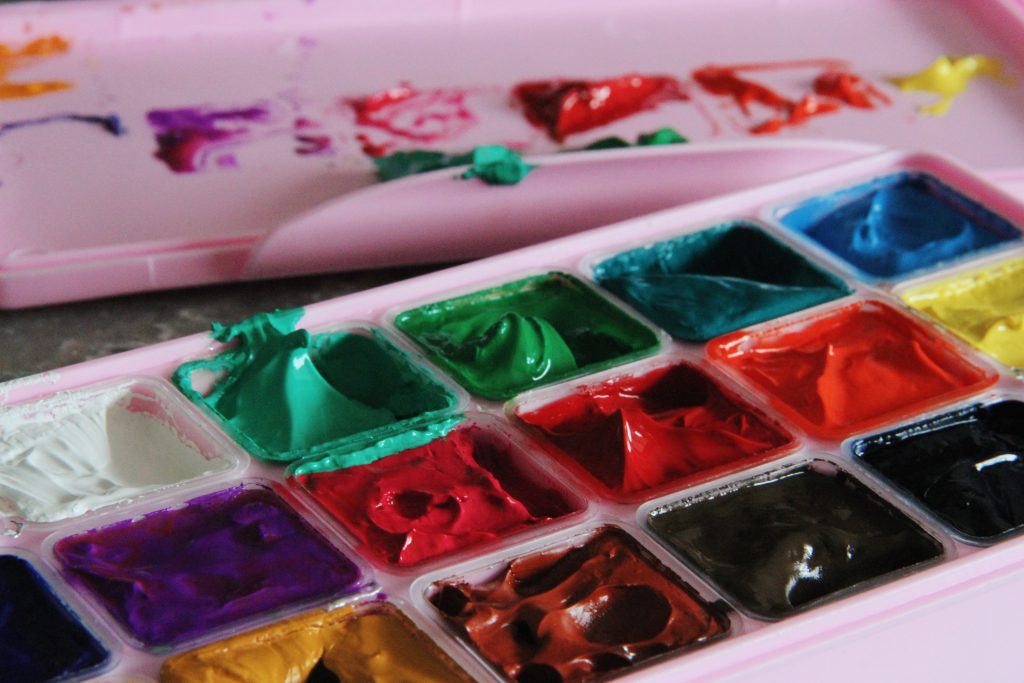
Himi Gouache Paint Set 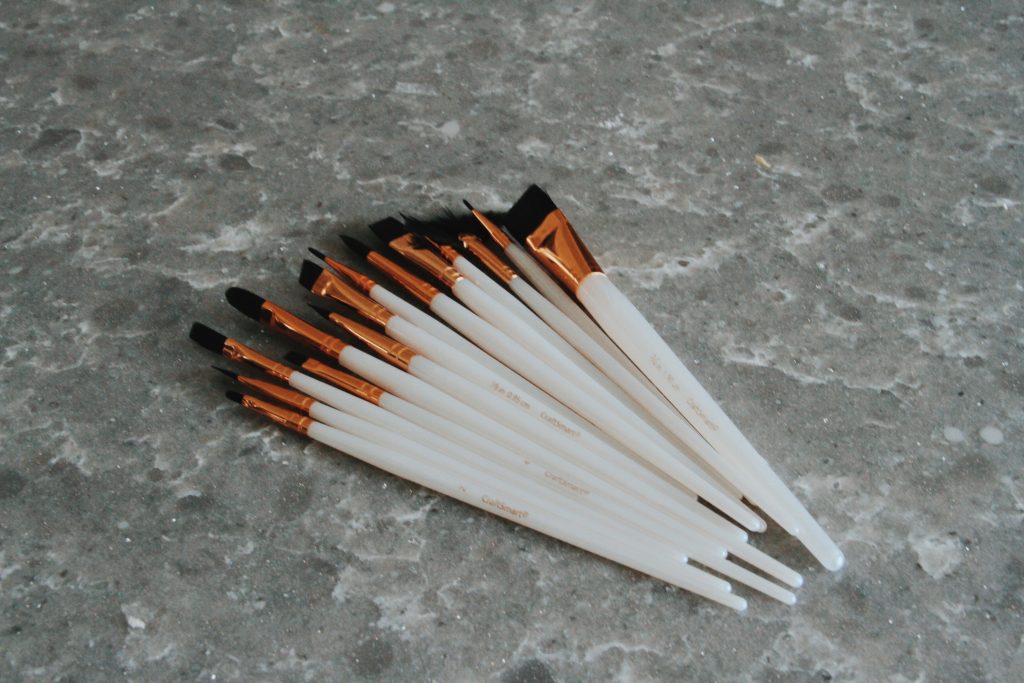
Paint Brushes (from amazon)
Supplies:
- Bible- I used a canvas Bible because they are harder and remain perfectly flat while painting them. The material is also better for painting on than a normal Bible.
- Paint- You can use any paint, but I used the HIMI Gouache paints (mainly because those are the only ones I have as of now).
- Paint Brushes
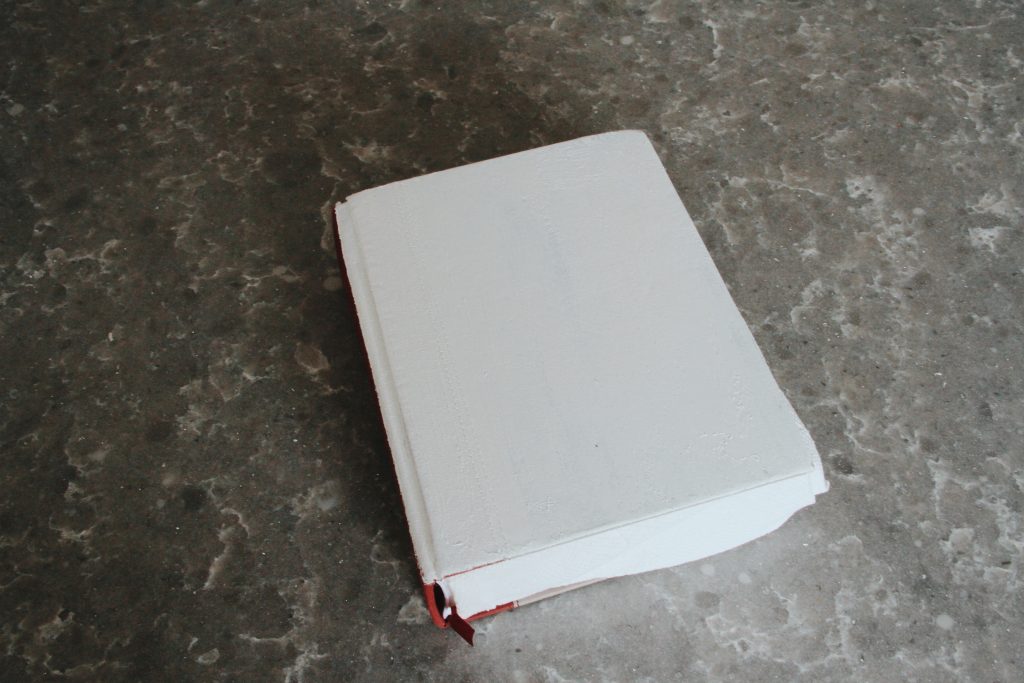
The first thing I did was paint the cover of my Bible white, to create a sort of primer or blank slate. This way I could also make sure that all of the colors I chose to use would show up even better on the Bible. I also put a paper towel inside of my Bible, to make sure that no paint got on the pages.
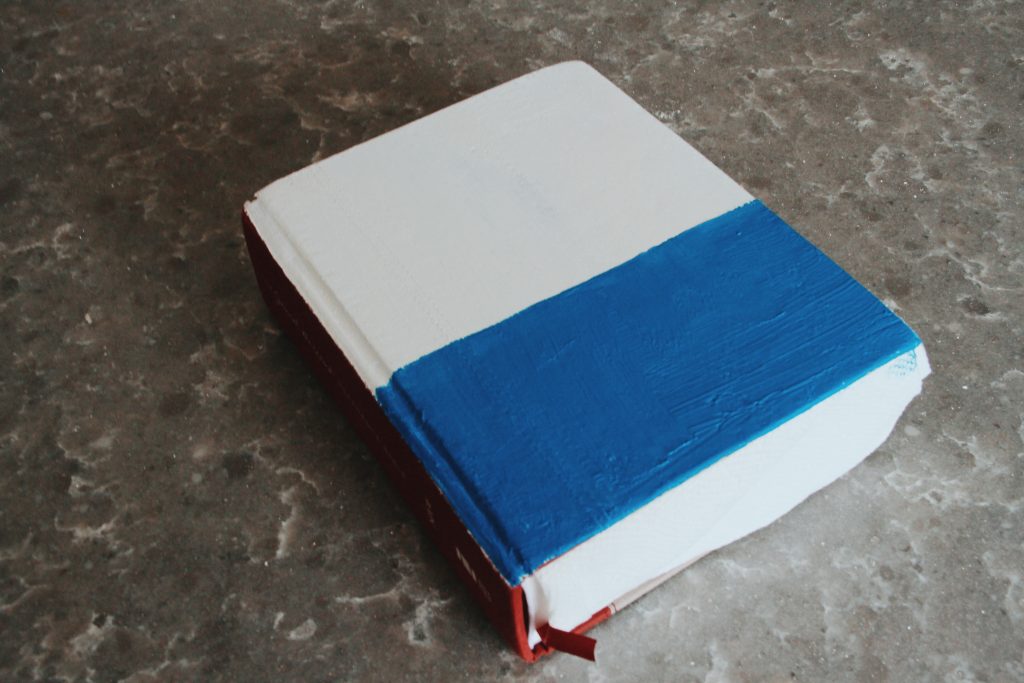
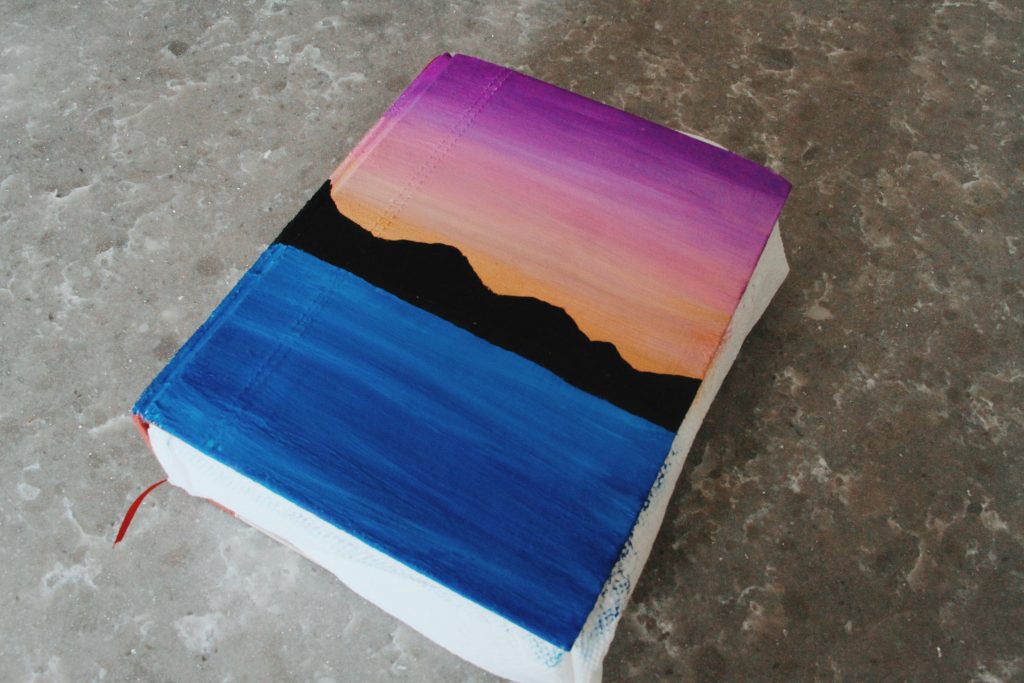
Next, I started with the water of the photo, and painted about half of the cover a light blue color. Before this started to dry, I added in different whites and blues to add more dimension to the water. If your water begins to look streaky, keep it that way! I believe that it adds to the water effect. and adds fun textures to the water that you have created.
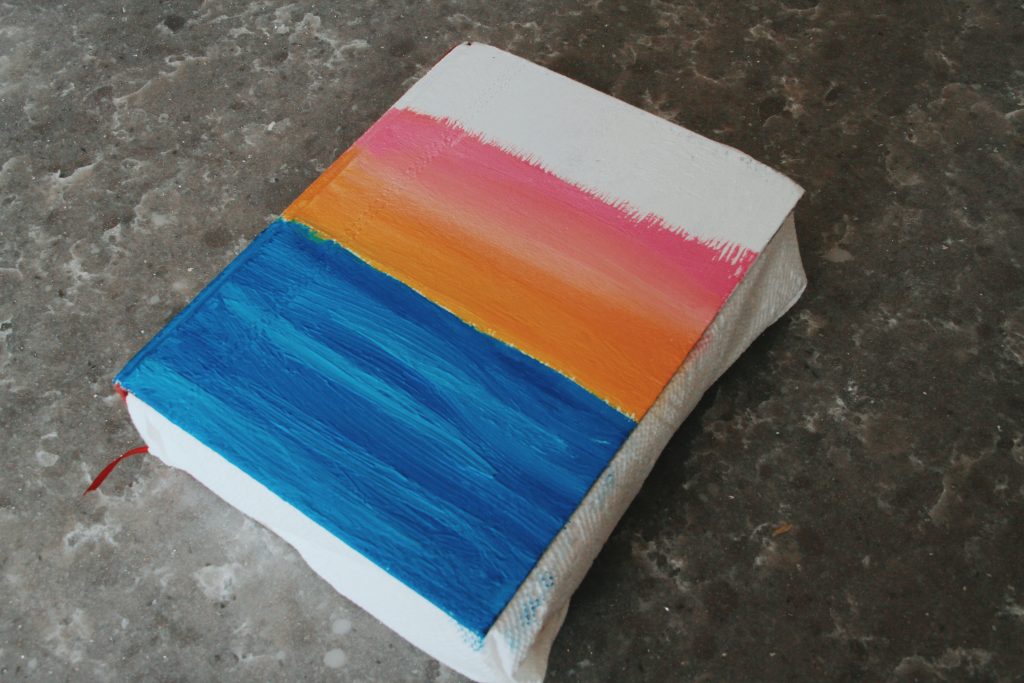
After the water, I focused on the sky. If you would like, you can use painters tape to make sure you don’t overlap the colors, but I chose to just be careful, as later on the gap will be covered up with black anyways. I started with an orange and yellow mix and blended into a pink color. If the colors aren’t blending like you want them to, remember it can always be very helpful to dip your brush in some water as you continue to mix them.
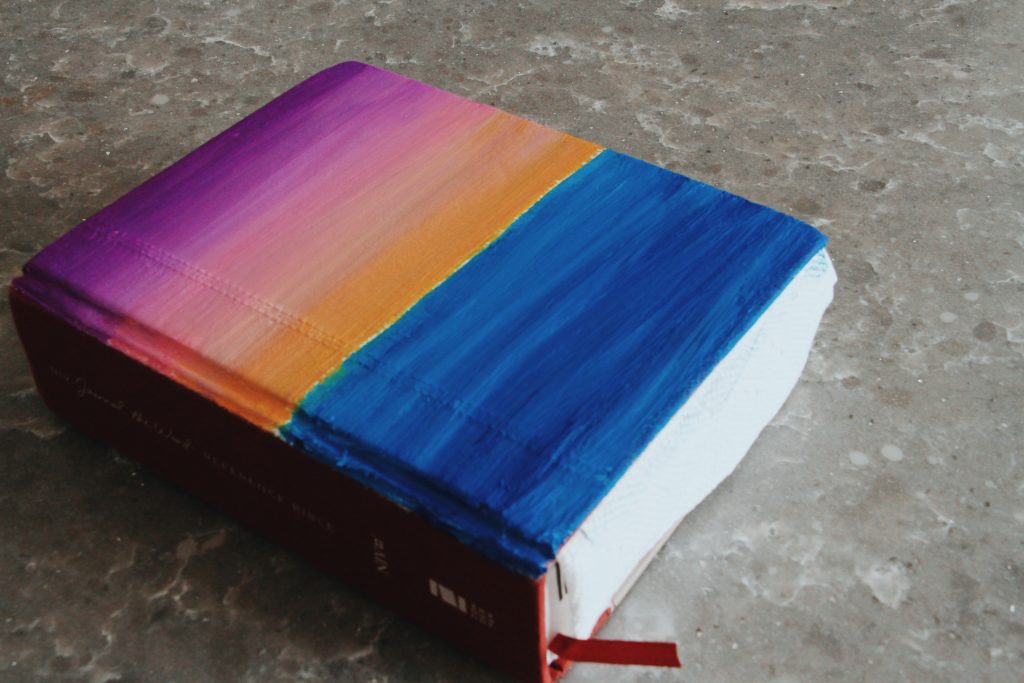
I used the same techniques as I did before when I added the purple to the rest of the canvas. At the top was where I kept the purple most saturated, and blended down into the pink with some water on my brush as I did so.
Once both halves of the cover were finished, I made sure to set out the book to dry, so the time you have to wait can depend on how thick your paint is or what kind of paints you are using.
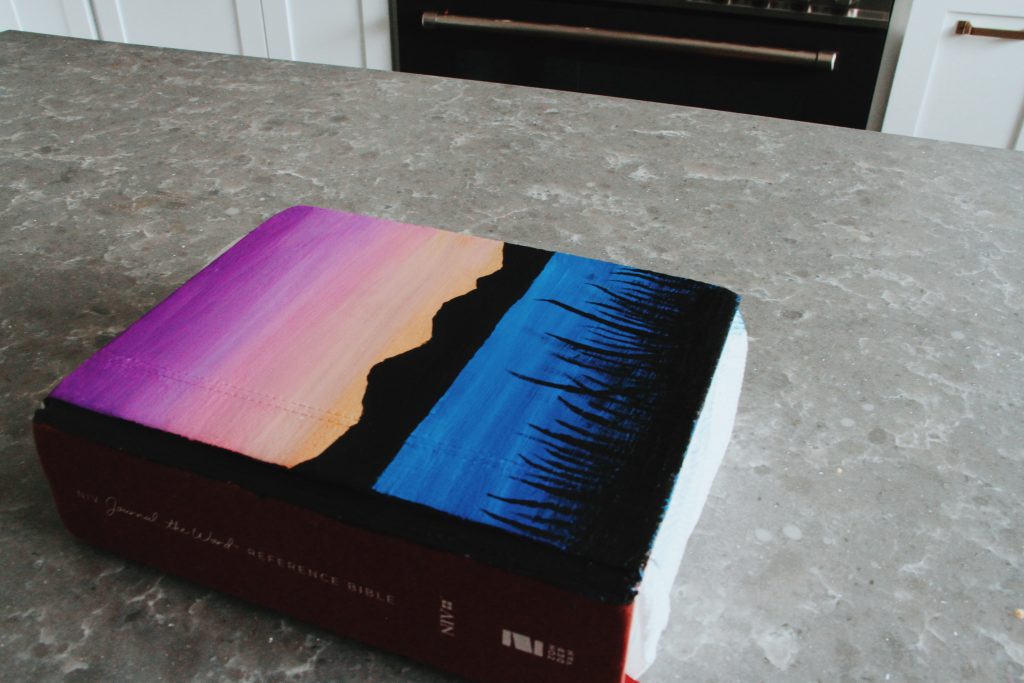
After the paint was dry, I went in with black paint and drew the straightest line I could, and drew the mountains however I wanted them to be. You can make them pointier if you would like them to resemble a more mountainous range, or you can make them more round to make it look more like there are hills in the background. I used the same black to create grass or reeds in the bottom, which again could be as numerous as you would like.
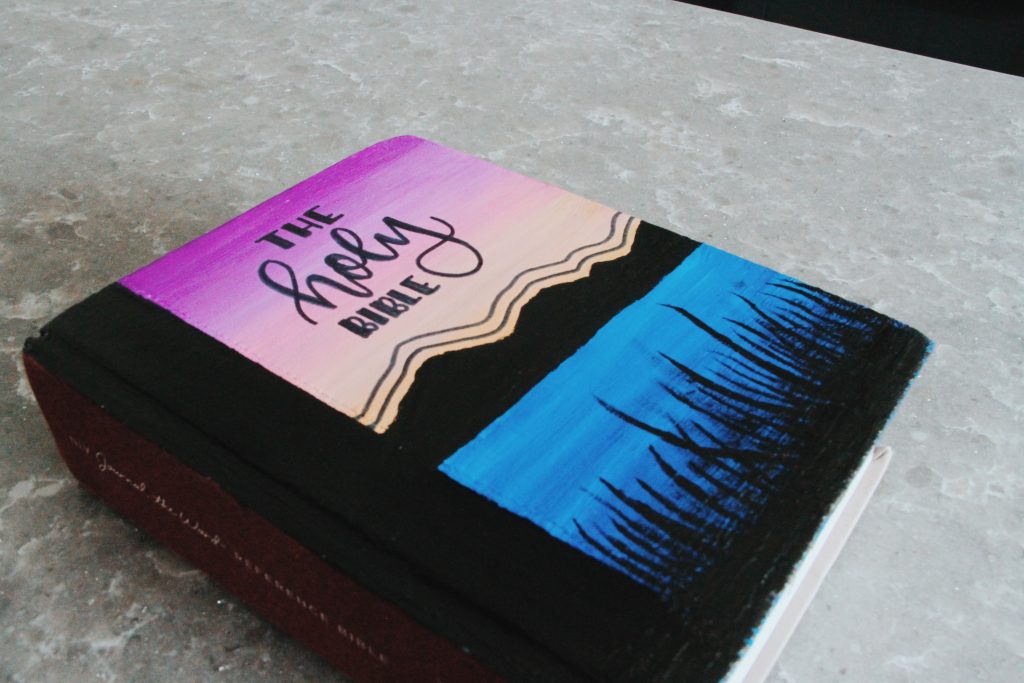
Lastly, I decided to add a thick black line down the side, because I liked the way it looked with my Bible. This was a personal choice, so if you don’t want to add this, you don’t need to. I also hand lettered “The Holy Bible” using a sharpie in the center so that I could be more articulate.
Those are all the steps to how I painted my Bible! I hope that this helped you, because I had such a great time painting it, and experimenting with the different kinds of techniques! This can also be used for regular canvases or journal covers. Share your creation with us on instagram or pinterest, because we would love to see them!
Subscribe and leave your email to get notified when we post our weekly blog posts!
Wow, amazing blog layout! How long have you been blogging for? you make blogging look easy. The overall look of your web site is great, let alone the content! Theadora Heinrick Belcher
Muchas gracias. ?Como puedo iniciar sesion?